
When thinking of editing your face, Adobe Photoshop might be the first software that comes to your mind. How can you not? This software is renowned for its powerful capabilities in digital image manipulation, especially in editing your face. Photoshop’s face editing tools and features can meet the diverse needs of users, from professionals to regular ones.
Photoshop allows you to conceal blemishes, smooth your skin, slim your face, whiten your teeth, adjust your skin tone, and even swap your face with others. But if you just started, you might feel overwhelmed by the sheer number of tools and how to use them.
For this reason, we will guide you through each step to use Photoshop to edit your face easily. This tutorial will cover the basics and help you use its features.
In this article
Part 1. How to Use Photoshop to Retouch Face in Photos
Before we start, you must understand that Photoshop is a part of Adobe's Creative Cloud suite, a collection of software tools designed for various creative tasks. Creative Cloud offers a subscription-based model, which means you need to pay a monthly or annual fee to access the software.
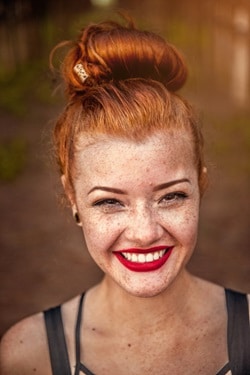
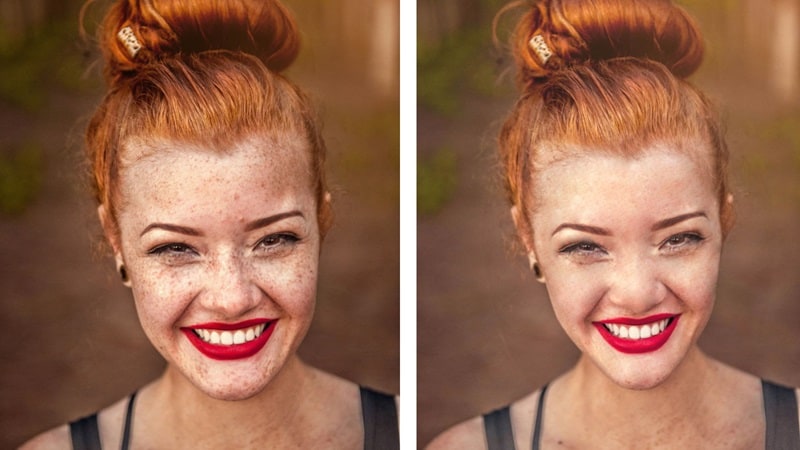
If you haven't acquired a subscription yet, you can visit the Adobe website to explore your options. However, if you've already obtained a license or subscription, then let's proceed with the Adobe Photoshop face editing tutorial here. We've prepared a high-quality portrait image that we'll use to demonstrate various retouching and refining techniques in Photoshop.
Step 1: Create a backup layer
Creating a backup layer of our image is important to ensure we can always revert to the original image if needed. To do this, right-click on the layer in the Layers panel and select "Duplicate Layer." Alternatively, you can drag the background layer to the "New Layer" icon at the bottom of the Layers panel. You can also use the keyboard shortcut Cmd/Ctrl + J.
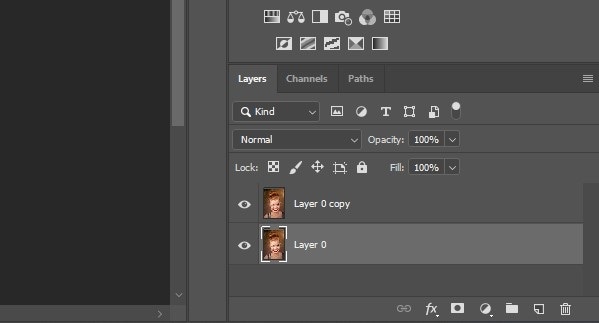
Once you've duplicated the layer, you can rename it to "Backup" or any other name that helps you identify it as the original image. Now, with the backup layer selected, let's move on to the next step.
Step 2: Conceal blemishes
Now that we have our backup layer ready, let's start by concealing any blemishes or imperfections on the skin. We'll use the Healing Brush Tool, which is specifically designed for this purpose.
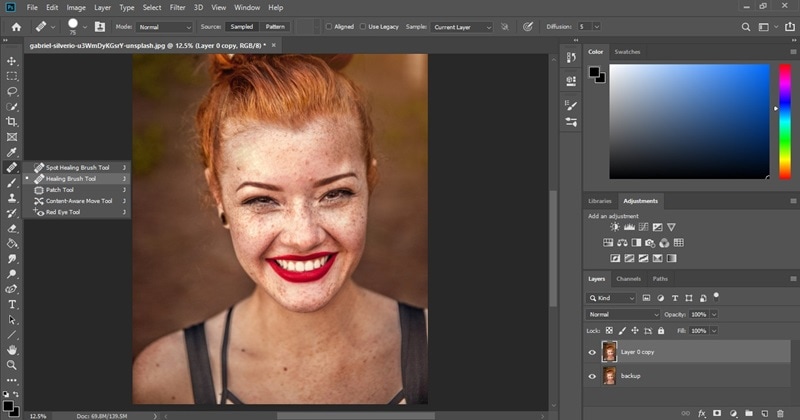
To access the Healing Brush Tool, you can either select it from the toolbar on the left side of the screen or press the "J" key on your keyboard to activate it. Then, click or drag the Healing Brush over the blemish. Photoshop will automatically blend the sampled area with the surrounding skin to conceal the imperfection. Continue this process for all undesired spots on the face.
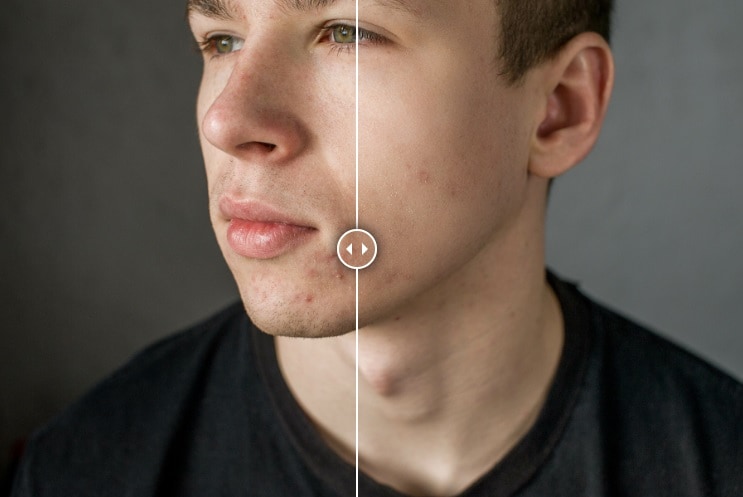
Step 3: Smooth skin
To smooth the skin on your photo, access the Discover Panel by clicking on the search icon at the upper right corner of the Photoshop workspace. Alternatively, you can use the keyboard shortcut Cmd/Ctrl + F or navigate through the menu bar by selecting Help > Photoshop Help.
Once in the Discover panel, navigate to Browse > Quick Actions. Here, you'll find a variety of options to enhance your images. Look for the "Smooth Skin" feature and select it. After selecting the "Smooth Skin" option, click the Apply button to activate the tool.
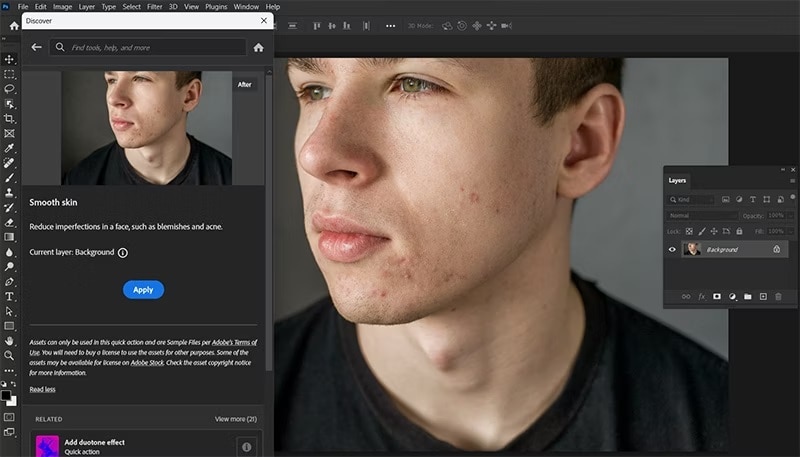
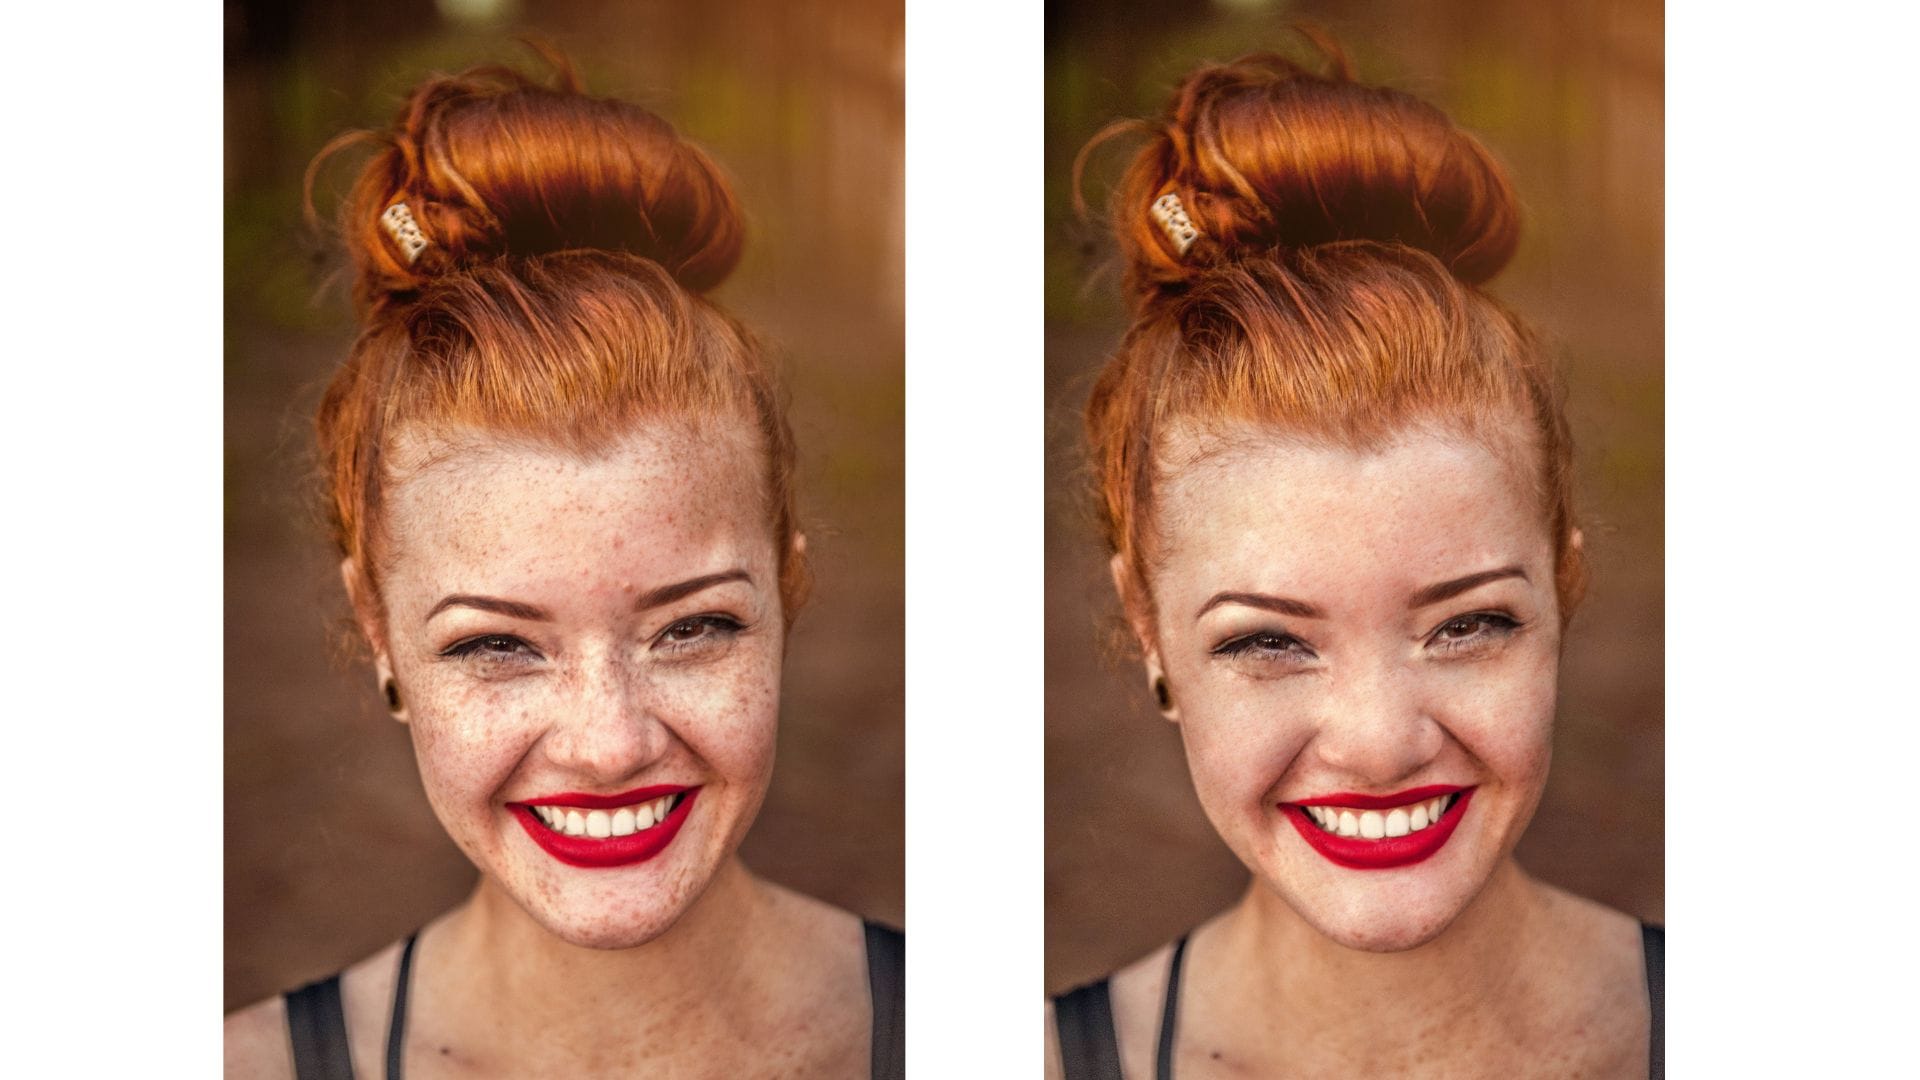
This tool intelligently identifies and smoothens the skin in your image, reducing imperfections and creating a more polished look. Adjust the strength of the smoothing effect to your preference, keeping in mind the desired level of realism.
Step 4: Slim face
To create a more slender appearance for the face, consider using the Liquify tool in Photoshop. This tool allows you to subtly adjust facial features for a more flattering look. To access the Liquify tool, go to Filter > Liquify.
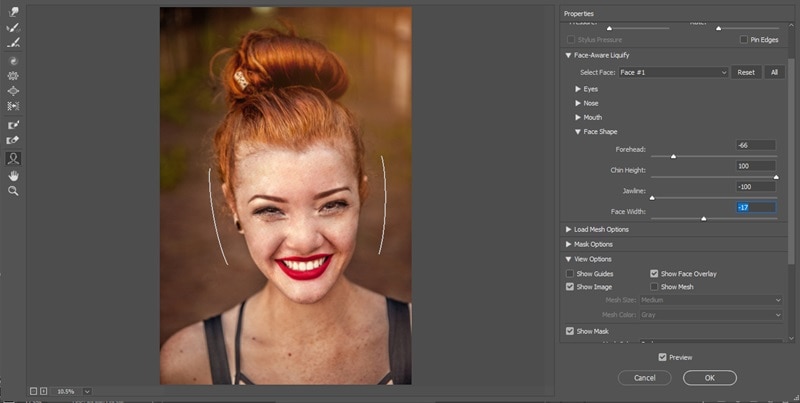
From there, you can use the various tools within the Liquify window to reshape the face as desired. Be sure to use this tool with restraint to maintain a natural appearance.
Step 5: Whiten yellow teeth
Yellow teeth can detract from an otherwise great photo. Fortunately, you can easily whiten them with these simple steps. Start by selecting the teeth using one of the lasso tools. Once selected, copy the teeth onto a new layer by pressing Cmd/Ctrl + J. This allows you to work on the teeth separately from the rest of the image.
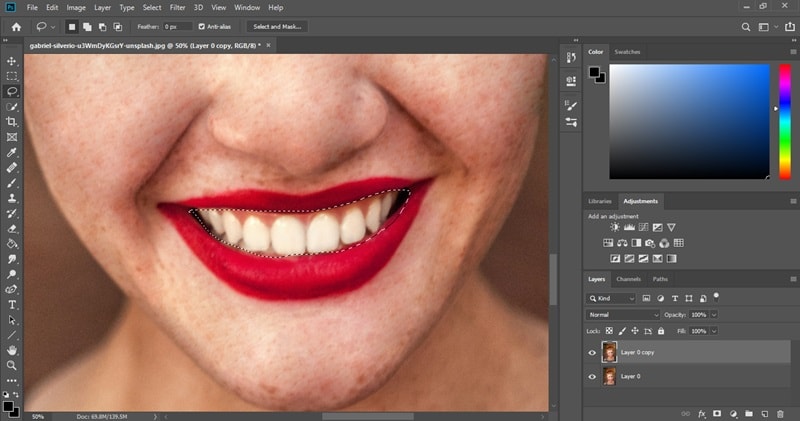
With the teeth selected on the new layer, apply a selective color adjustment layer by clicking Layer > New Adjustment Layer > Selective Color Adjustment. This adjustment layer enables you to target specific colors in your image, making it perfect for removing yellow tones from teeth. Also, don’t forget to tick the option to create a clipping mask.
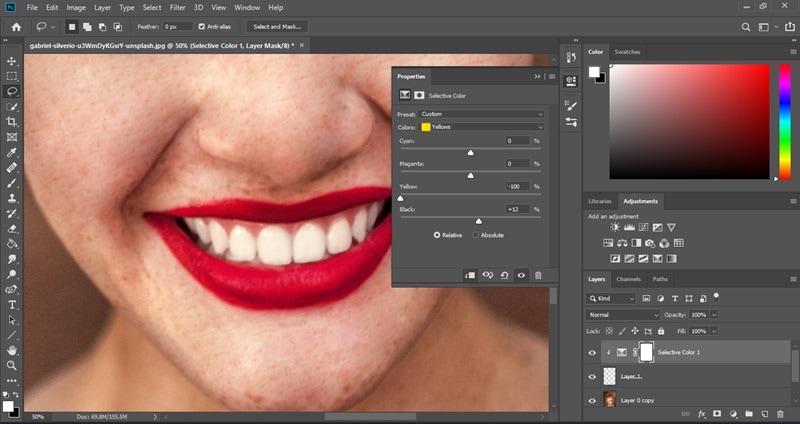
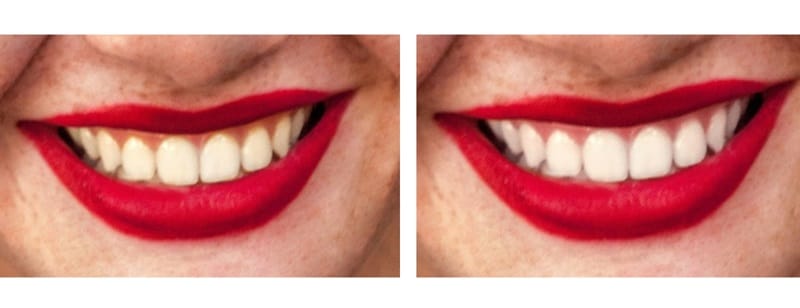
Adjust the yellows in the selective color adjustment to remove the yellow hue and create a whiter appearance. You can also refine the selection using masking to ensure that only the teeth are affected.
Step 6: Adjust your face skin color
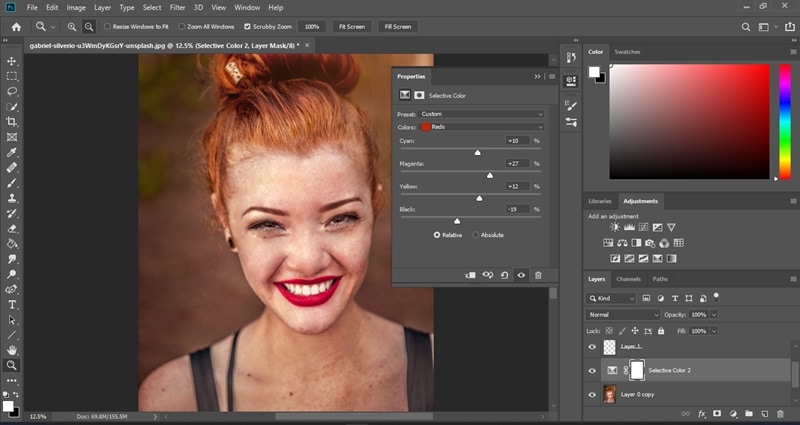
To enhance the natural color of the skin and eliminate any unwanted tones, you can use the selective color adjustment tool once again but for the whole picture. This time, focus on the red tones to ensure that the skin appears healthy and natural. By adjusting the red tones, you can correct any unnatural hues and achieve a more balanced skin tone.
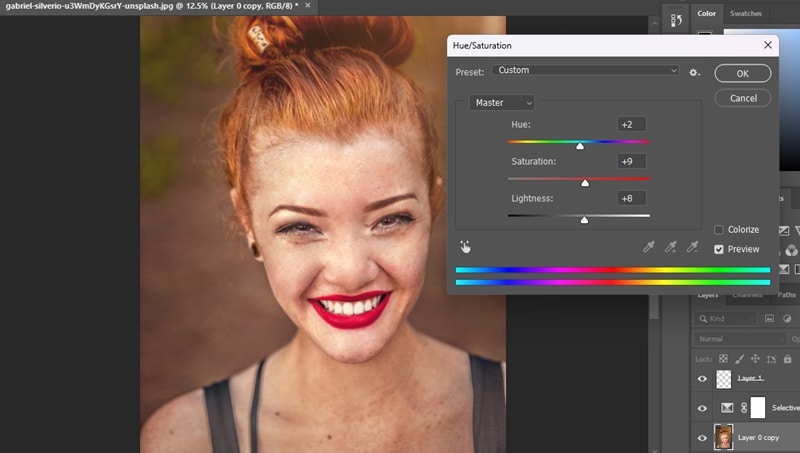
Additionally, you can try adjusting the overall saturation of the photo to create a more vibrant look. To do this, head to Image > Adjustments > Hue/Saturation or press Ctrl/Cmd+U to bring up the Hue/Saturation adjustment dialog box. Increase the saturation slider to your desired level, but be careful not to overdo it.
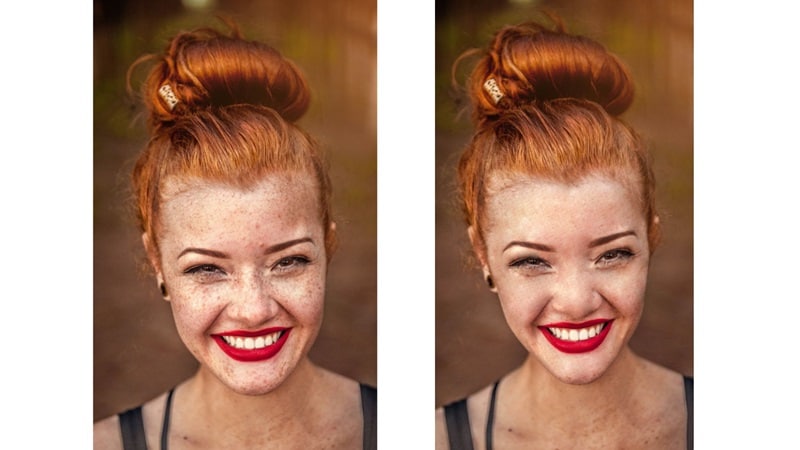
Finally, to soften facial features and create a more glamorous appearance, apply the diffuse filter. Go to Filter > Stylize > Diffuse and adjust the settings as needed. Once you are satisfied, save your edited photo and share it to the world!
Part 2. How to Use Photoshop to Edit and Swap Faces
Now that you've mastered retouching your photo, we have also covered another fun Photoshop face-editing trick—face swapping. Face swapping lets you replace one person's face with another.
Maybe you've always wondered how you'd look with a celebrity's features or wanted to goof around by swapping faces with a friend. Or perhaps you've encountered a perfect photo, except for that one friend's face who ruins the shot. With another photo of them on hand, you can easily swap out the undesirable expression with a better one.

Face-swapping memes or fixing group photos of friends and family with a face swap is a common edit that people make all the time. And Photoshop also gives you the tools to make it happen. See how to swap your face with Photoshop face editor and get a natural result:
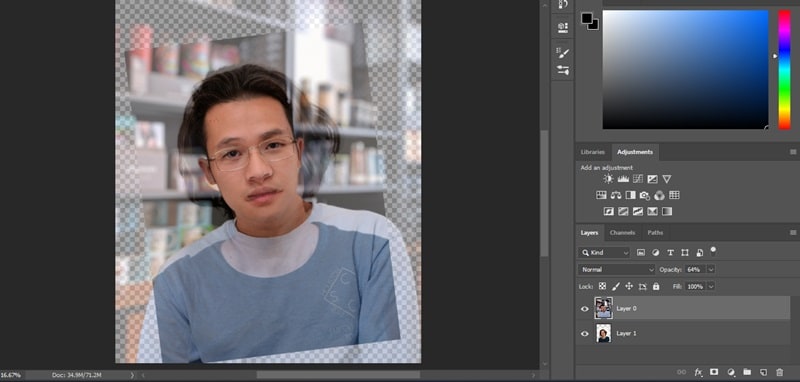
Step 1: Import the primary photo and the one containing the new face you wish to incorporate into Photoshop. Position the new face as the bottom layer and the main image as the top layer.
Step 2: Align the faces in both pictures. You can use the Auto-Align feature (Edit > Auto-Align Layers) to ensure they roughly match up.
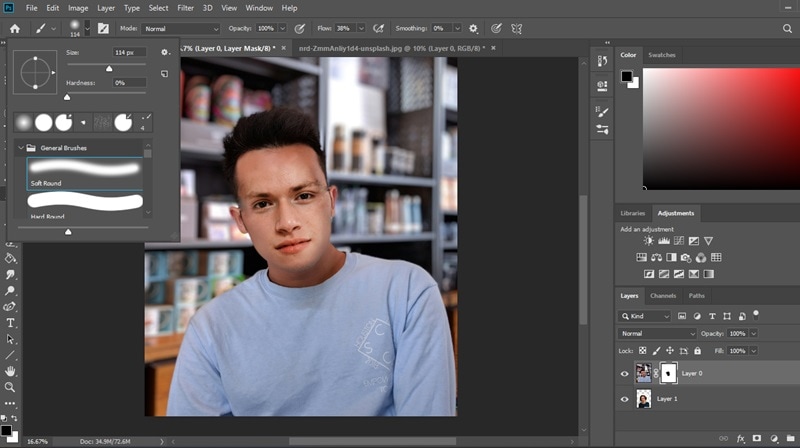
Step 3: Apply a layer mask to the top layer containing your main image and set the opacity to 100%.
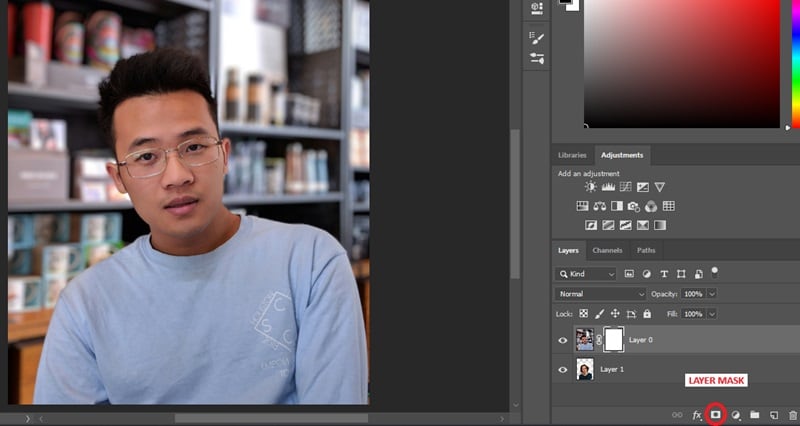
Step 4: Select the Brush tool and opt for a softer brush style, as it tends to yield better results for this task.
Step 5: With a black brush, paint over the face you want to replace on the layer mask. As you paint on the layer mask, the face underneath will begin to show through. If you make mistakes, you can switch to a white brush to correct them.
That’s all! Please note that this method is effective for images that are similar in size and composition. For more complex face swaps, you may need to explore additional Photoshop techniques or consider using simpler alternative tools.
Part 3: Photoshop Alternative for Face Swap: FaceHub
Photoshop photo face editing capabilities are one of the best. But if you're looking for an easy alternative to Photoshop for face swapping, we recommend you try out FaceHub. FaceHub is an AI-powered tool that you can use to face-swap your photos. With its intuitive interface, all you need to do is upload your pictures, and FaceHub takes care of the rest. It promises high-quality, natural-looking results.
Unlike Photoshop, which requires installation and may have a steeper learning curve, FaceHub operates entirely online, making it accessible from any device with an internet connection. This convenience makes it a great option for users who prefer a simpler approach to face-swapping. You can quickly and easily swap faces in your photos without extensive editing skills.
See how to face swap your photos quickly with FaceHub:
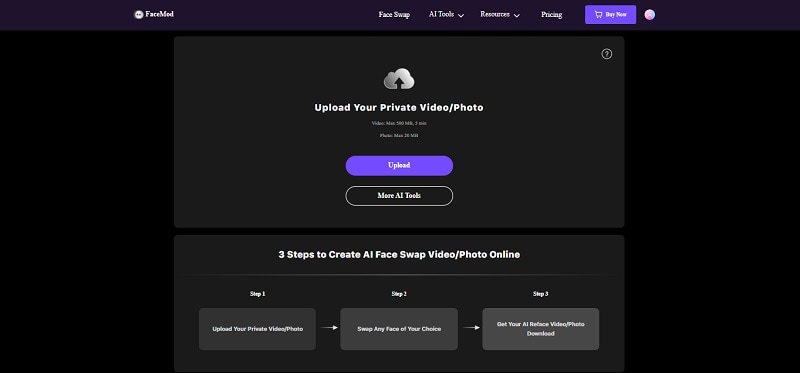
Step 1: Head to the FaceHub website and click "Get Started Now."

Step 2: Upload the photo you'd like to perform a face swap on. Make sure the image is clear to get the best face-swapping result and the file size doesn’t exceed 500MB.
Step 3: Once the photo has been uploaded, upload the face you want to superimpose onto the photo. You can also opt for the available face samples for a tryout. Then, proceed by clicking the "Swap" button.

Step 4: After a few moments, you'll be directed to the download page and see the face swap result. Save the outcome to your computer by clicking download.

Conclusion
Photoshop face editing tools and features are one of the most comprehensive and sophisticated sets available in the industry. With an extensive array of tools, including but not limited to spot-healing brushes, clone stamps, and liquify filters, you can perform intricate edits with precision and ease–from concealing blemishes to face-swapping your photos.
But while Photoshop remains a top choice for face editing, there are also alternative tools like FaceHub, which offer simpler, more accessible solutions for face swapping capability.